My grandmother kept a neat little vegetable garden beside her New England home. While she grew a respectable amount of summer squash, cucumbers, and tomatoes, the real stars were always her snap beans. Every August visit meant sitting on her porch with a bowl in my lap, snapping bean ends—work strictly assigned to grandchildren—while jars of pickled green beans slowly filled her refrigerator.
I never learned her exact method, but years later I’ve perfected my own version: quick-pickled dilly beans that are crisp, garlicky, and pleasantly tangy. They capture everything I loved about those summers, without the need for traditional canning.
Why You’ll Love These Dilly Beans
These are refrigerator pickles, which means no pressure canner, no boiling water bath, and no long wait. A hot vinegar brine poured over fresh green beans does all the work. After just a couple of days in the fridge, the beans are ready to snack on—crunchy, bright, and full of dill flavor.
Because the beans aren’t cooked for long, they keep their snap and fresh taste, making them perfect for serving alongside sandwiches, burgers, cheese boards, or straight from the jar.
The Best Beans to Use
Classic green beans—also called snap or string beans—are ideal for dilly beans. Yellow or purple varieties work too, though purple beans will turn green once pickled. Thinner French haricots verts aren’t recommended here, as they’re more delicate and don’t hold up as well in the brine.
Do You Need to Blanch the Beans?
Some recipes call for blanching beans before pickling to preserve color and texture. For quick-pickled dilly beans, this step isn’t necessary. Pouring hot brine directly over the beans softens them just enough while keeping them crisp. If vibrant color is especially important to you, a brief three-minute blanch followed by an ice bath is optional—but not required.
Key Ingredients
Fresh beans are the foundation, paired with garlic, fresh dill, yellow mustard seeds, and a pinch of red pepper flakes for gentle heat. Distilled white vinegar keeps the flavor clean and bright, while kosher or pickling salt balances the acidity.
How to Make Quick Pickled Dilly Beans
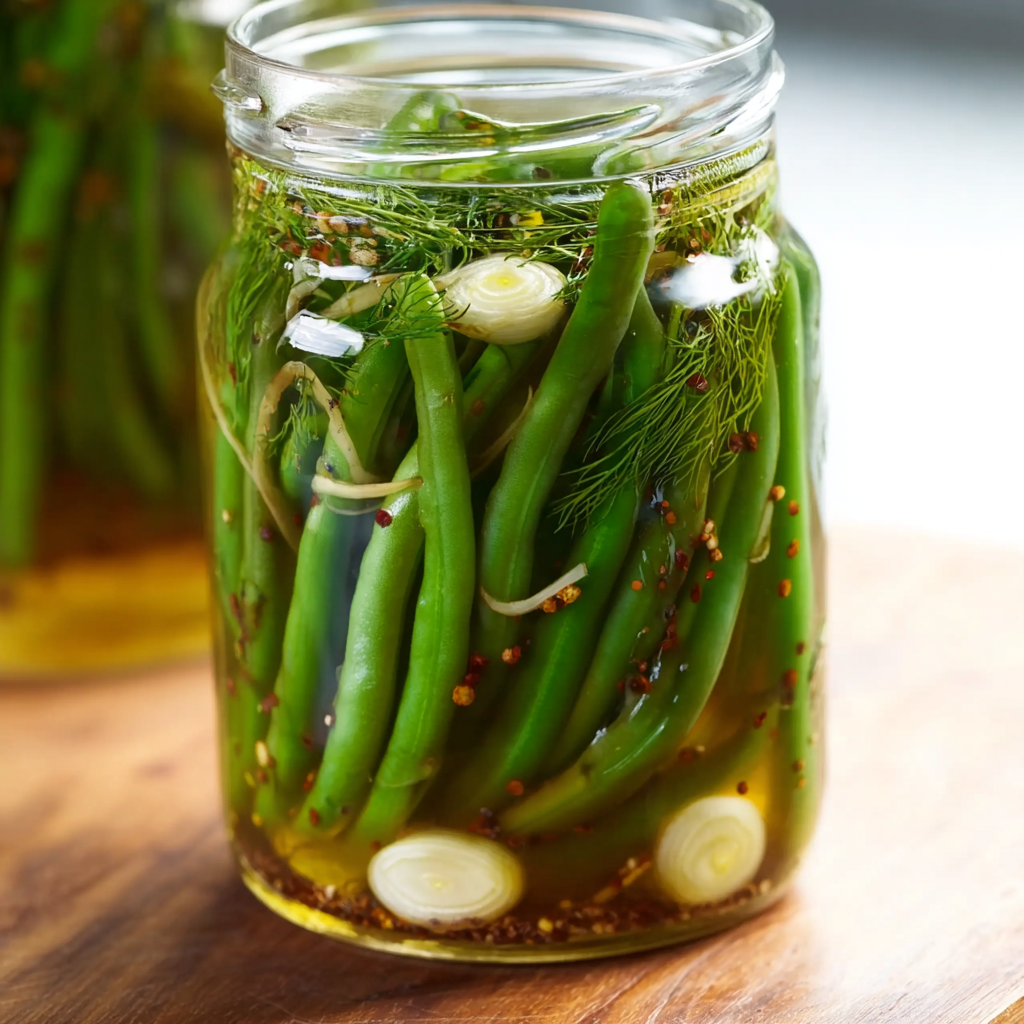
Start by washing your jars thoroughly and letting them dry. Rinse and trim the beans, then add garlic, mustard seeds, and red pepper flakes to the jars. Pack the beans tightly with sprigs of fresh dill, standing them upright for a classic look.
Bring vinegar, water, and salt to a boil, then carefully pour the hot brine over the beans until they’re fully submerged. Tap the jars gently to release air bubbles, seal, and let cool before refrigerating.
The hardest part is waiting—these dilly beans improve after about 48 hours and continue to develop flavor over time.
Storage Tips
Since these are refrigerator pickles, they should be stored cold and enjoyed within two months. They’re best after a couple of days, when the flavors have had time to mingle.
Quick pickled dilly beans are a simple way to preserve the crunch of summer beans and turn them into something tangy, snackable, and endlessly useful—just like the jars my grandmother always kept tucked away in her fridge.