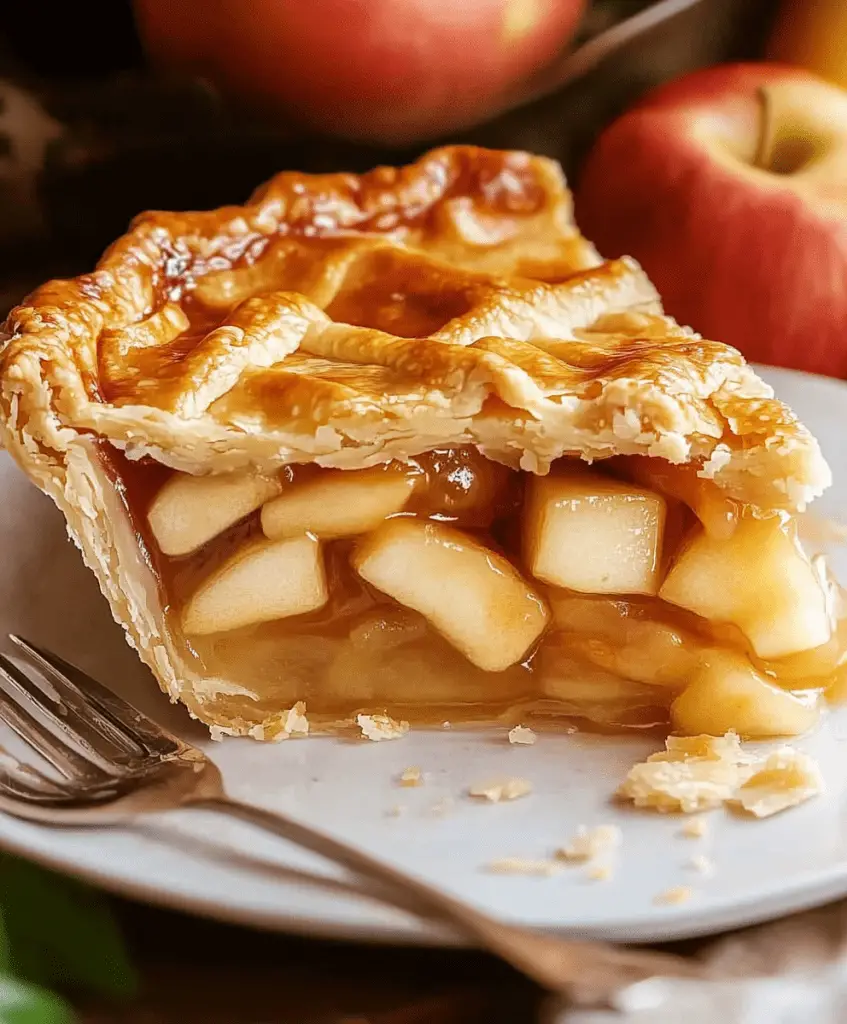
There’s nothing quite like a slice of warm homemade apple pie—especially when it’s wrapped in a buttery, flaky crust and bursting with perfectly spiced apple filling. This recipe will show you step-by-step how to make the best classic apple pie from scratch. The secret? A rich, homemade crust, cooked apple filling, and just a hint of cardamom to elevate the flavor.
Why This is the Best Apple Pie Recipe
This isn’t your average apple pie. Most pies fall flat because of mushy filling or bland crusts. Not this one! Here’s why this version stands out:
- Cooked apple filling for perfect texture and concentrated flavor.
- No butter in the filling, so the apple flavor shines.
- Optional cardamom for a sophisticated twist on the classic cinnamon spice.
- Flaky, homemade crust that tastes as good as it looks.
If you’ve ever been disappointed by store-bought crust or underwhelming pie flavor, this one will change your mind.
Ingredients You’ll Need
- 1 double pie crust (homemade is a must!)
- 5 pounds apples (a mix of Granny Smith, Gala, and Golden Delicious is best)
- ¼ tsp lemon zest
- 2 tbsp lemon juice
- ¾ cup brown sugar
- ¾ cup granulated sugar
- 5 tbsp all-purpose flour
- ¼ tsp kosher salt
- 1½ tsp ground cinnamon
- ¾ tsp ground nutmeg
- ½ tsp ground cardamom (optional, but amazing!)
- 1 tsp vanilla extract
- 1 tbsp milk (for brushing crust)
- 1 tbsp beaten egg (optional, for golden crust)
- 1 tbsp raw sugar (for topping)
The Secret to a Perfect Apple Pie Filling
No butter. You read that right. Unlike many recipes that sauté apples in butter, this filling skips it entirely to let the fruit flavor stand out. The butter belongs in the crust—not in the filling.
Use a variety of apples. For depth of flavor and the best texture, a mix of sweet and tart apples is key.
Add cardamom. This is my favorite addition to any cinnamon dessert. It’s subtle but adds a warm, unique note that makes people ask, “What’s your secret?”
How to Make Apple Pie (Step-by-Step)
1. Prepare the Apples
- Zest the lemon into a large skillet.
- Add the lemon juice to keep apples from browning.
- Peel and thinly slice apples (about ⅛ inch thick).
- Toss them into the skillet with the lemon juice as you go.
2. Cook the Filling
- Add sugars, flour, salt, cinnamon, nutmeg, and cardamom to the apples.
- Stir gently over medium heat until everything is coated and moistened.
- Cook until apples have softened slightly but still hold their shape.
- Stir in vanilla. Let the mixture cool.
3. Roll Out the Pie Dough
- Place one crust into a 9-inch pie dish. Trim and chill if needed.
4. Fill the Pie
- Pour the cooled apple mixture into the prepared bottom crust.
5. Add the Top Crust
- Use a full top crust or make a lattice. Seal and crimp edges.
- Brush with milk or beaten egg and sprinkle with raw sugar.
6. Bake
- Place the pie on a baking sheet to catch drips.
- Bake at 375°F for 60–80 minutes until the crust is golden brown.
- Use a foil pie shield to protect the edges from burning.
Tips for Success
- Use a foil pie shield to keep the crust edges from over-browning. Just fold foil into a square, cut a circle in the center, and place over the pie.
- Bake on a lower rack for a fully baked bottom crust.
- Let the pie rest for at least 4 hours after baking to allow the filling to set properly.
Storage & Make-Ahead Tips
How to Store Apple Pie
- Room temperature: Keeps for 2 days covered with plastic wrap or a pie cover.
- Refrigerator: After 2 days, refrigerate for up to 3 more days.
- Reheating: Warm slices in the oven or microwave before serving.
Can You Freeze Apple Pie Filling?
Absolutely! Let it cool, then freeze in a gallon-size zip-top bag placed in your pie dish. Once frozen, remove the dish. When ready to bake, roll out your crust and place the frozen filling right on top. Bake from frozen, adding about 20 minutes to the bake time.
Can You Freeze the Whole Pie?
Yes! Assemble the pie completely, but skip the egg wash and sugar topping. Freeze for 1 hour uncovered, then wrap in plastic wrap and foil. Bake straight from frozen, brushing with egg/milk and sprinkling with sugar first.
FAQs
How many apples do I need?
You’ll need 5 pounds of apples—about 11–15 depending on size.
Should I peel the apples?
Yes. Leaving the peels on affects texture and even cooking. Trust me—you won’t regret taking the extra step.
Should you cook the apples before baking the pie?
Yes. Cooking the apples ahead helps reduce excess moisture, improves texture, and deepens the flavor.
How do I keep the bottom crust from getting soggy?
Make sure your oven is fully preheated and your crust is cold going in. Bake long enough for the bottom to fully cook and use a metal baking sheet under your pie to help conduct heat.
Don’t forget: Apple pie is best the day it’s baked—but your friends and neighbors won’t mind helping you polish it off while it’s fresh!