If you’re searching for a dessert that feels elegant yet comforting, this Pistachio Mascarpone Layer Cake is exactly that—and more. With tender pistachio-infused sponge layers and a luxuriously smooth mascarpone cream, this cake is the kind of treat that turns any moment into an occasion. Whether you’re hosting a celebration or simply indulging your love for refined desserts, every slice delivers a perfect balance of nutty richness and creamy lightness.
This is more than just a cake—it’s an experience. One that invites you to slow down, savor each bite, and enjoy the simple joy of baking something truly special.
Why This Cake Will Win You Over
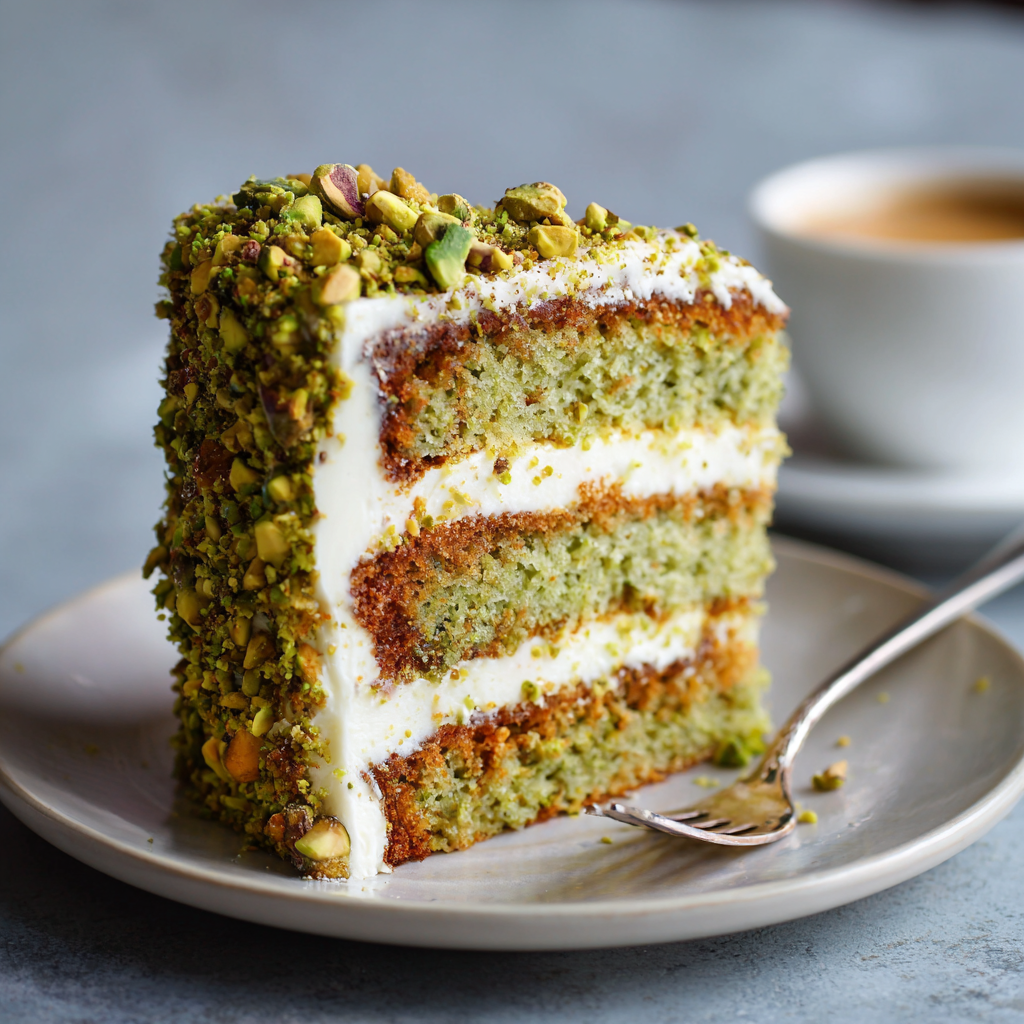
This Pistachio Mascarpone Layer Cake is as beautiful as it is delicious. The naturally green pistachio sponge layers create a stunning visual contrast against the pale mascarpone frosting, while the flavor combination is both sophisticated and comforting. Best of all, despite its elegant appearance, the cake is surprisingly straightforward to make.
It’s ideal for birthdays, dinner parties, holidays, or anytime you want a dessert that feels thoughtfully made and utterly irresistible.
Ingredients You’ll Need
Each ingredient in this cake plays an important role in building flavor, texture, and structure.
- Shelled pistachios – Finely ground to provide nutty depth and subtle sweetness
- All-purpose flour – Creates structure while keeping the crumb light
- Baking powder – Helps the cake rise evenly
- Salt – Enhances and balances flavor
- Unsalted butter – Adds richness and moisture
- Granulated sugar – Sweetens and aerates the batter
- Eggs – Bind ingredients and add structure
- Whole milk – Ensures a soft, tender crumb
- Vegetable oil – Keeps the cake moist even after chilling
- Vanilla extract – Adds warmth and depth
- Almond extract (optional) – Enhances the nutty profile
- Mascarpone cheese – The star of the frosting, silky and indulgent
- Heavy cream – Whipped to lighten the mascarpone
- Powdered sugar – Sweetens and stabilizes the cream
- Chopped pistachios – For texture and decoration
- Optional garnishes – White chocolate shavings or edible gold leaf for an elegant finish
Exact measurements can be found in the printable recipe card below.
Step-by-Step Instructions
1. Prepare the Pistachios
Pulse the pistachios in a food processor until finely ground, stopping before they turn into a paste. Combine them with flour, baking powder, and salt. Set aside.
2. Make the Cake Batter
Beat the butter and sugar until pale and fluffy. Add eggs one at a time, mixing well after each addition. Stir in milk, oil, vanilla extract, and almond extract if using. Gently fold in the dry ingredients until just combined.
3. Bake the Cake Layers
Divide the batter evenly between three greased and parchment-lined 8-inch round cake pans. Bake at 175°C (350°F) for 22–25 minutes, or until a toothpick inserted in the center comes out clean. Cool completely on a wire rack.
4. Prepare the Mascarpone Cream
Whip the heavy cream in a chilled bowl until soft peaks form. Add cold mascarpone cheese, powdered sugar, and vanilla extract. Beat until smooth, thick, and fluffy—being careful not to overmix.
5. Assemble the Cake
Place one cake layer on a serving plate and spread an even layer of mascarpone cream on top. Repeat with the remaining layers. Frost the top and sides, then press chopped pistachios onto the sides and sprinkle over the top.
6. Chill Before Serving
Refrigerate the cake for at least 2 hours before slicing. This allows the flavors to meld and ensures clean, beautiful slices.
Helpful Tips for Success
- Use fresh, high-quality pistachios for the best flavor
- Ensure butter and eggs are at room temperature
- Keep mascarpone cold for a stable, fluffy frosting
- Chill the cake before serving for best texture
- For neat slices, cut with a warm knife
Variations to Try
- Nut-Free: Substitute ground sunflower seeds
- Gluten-Free: Use a gluten-free flour blend
- Chocolate Twist: Add cocoa powder to the batter
- Fruit Layer: Add raspberries or strawberries between layers
- Vegan: Use plant-based alternatives and flax eggs
Serving Suggestions
- Pair with espresso or lightly brewed tea
- Serve with vanilla ice cream for contrast
- Garnish with fresh mint or edible flowers
- Present on a cake stand for maximum impact
Frequently Asked Questions
Can I make this cake ahead of time?
Yes! Bake the layers a day ahead, wrap tightly, and assemble the next day.
What can I use instead of mascarpone?
Cream cheese mixed with a little heavy cream works as a substitute, though the flavor will be slightly tangier.
How should leftovers be stored?
Store covered in the refrigerator for up to three days.
Can the cake be frozen?
Yes—freeze the cake layers individually. Thaw overnight in the fridge before assembling.
Final Thoughts
This Pistachio Mascarpone Layer Cake is a celebration of texture, flavor, and craftsmanship. From the nutty sponge to the creamy mascarpone frosting, every element works together beautifully. It’s the kind of dessert that brings people together, sparks conversation, and leaves a lasting impression long after the last slice is gone.