If you love bright and zesty lemon desserts, this Magical Lemon Cobbler is about to become your new favorite treat. It’s a simple yet stunning dessert that combines the sweet-tart flavor of lemon with a buttery cobbler topping—and there’s a little kitchen magic involved, too.
As it bakes, the lemon pie filling and the cobbler batter magically swap places, forming a golden, pillowy crust on top and a silky lemon pudding base underneath. It’s a show-stopping twist on traditional cobbler that’s as easy to make as it is fun to serve.
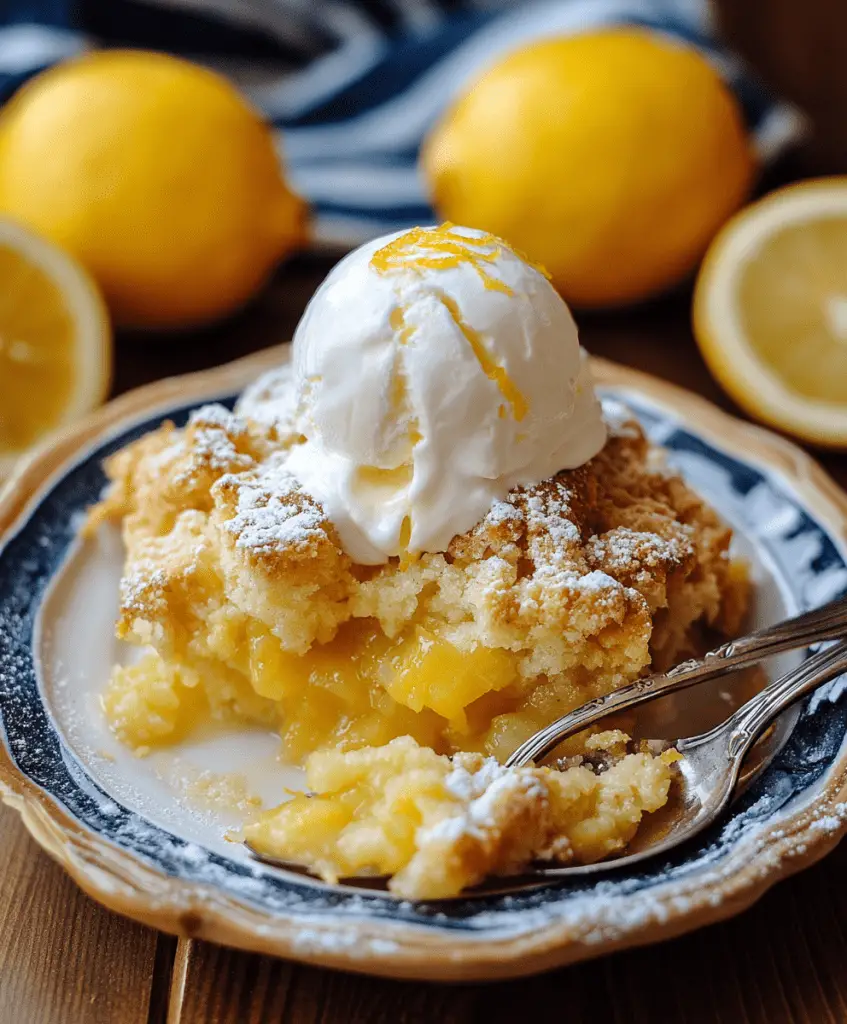
Whether you’re hosting a spring brunch, bringing dessert to a potluck, or just craving something sweet and citrusy, this lemon cobbler is the perfect choice. Serve it warm with whipped cream or a scoop of vanilla ice cream, and watch it disappear.
Why You’ll Love This Lemon Cobbler
- Quick & Easy – Just layer everything in the baking dish. No mixer, no fuss!
- Simple Ingredients – Pantry staples and a can of lemon pie filling or curd.
- Whimsical Twist – The layers switch places as it bakes. So fun!
- Bright & Buttery Flavor – Tangy lemon paired with rich, fluffy cobbler topping.
- Perfect for Any Occasion – From casual dinners to festive holidays.
- Customizable Toppings – Add fresh berries, powdered sugar, or even lemon glaze.
Ingredients
- 1/2 cup (1 stick) unsalted butter
- 1 cup all-purpose flour
- 1 1/2 tsp baking powder
- 1/4 tsp salt
- 1 cup granulated sugar
- 1 cup buttermilk (or whole milk)
- 1 tsp vanilla extract
- 1 tsp lemon extract (optional)
- 1 (21 oz) can lemon pie filling or lemon curd
How to Make Magic Lemon Cobbler
- Preheat & Melt Butter
Preheat your oven to 350°F. Place the butter in a 9×9-inch baking dish and pop it in the oven for a few minutes to melt. Remove once fully melted. - Mix the Batter
In a mixing bowl, whisk together the flour, baking powder, salt, and sugar. Add the buttermilk, vanilla extract, and lemon extract (if using), and stir until smooth. - Assemble the Cobbler
Pour the batter directly over the melted butter in the baking dish—don’t stir! Then, gently spoon the lemon pie filling or curd evenly over the top. - Bake
Bake for 45–55 minutes, or until the cobbler is golden brown and set around the edges. The “magic” happens in the oven—your lemon filling will sink and become a pudding layer on the bottom. - Serve
Let the cobbler cool slightly before serving. Enjoy warm with whipped cream, ice cream, or a sprinkle of powdered sugar.
Tips & Variations
- No Buttermilk? Use whole milk mixed with 1 tbsp lemon juice or white vinegar.
- Want Extra Zing? Add lemon zest to the batter for more citrus punch.
- Feeding a Crowd? Double the recipe and bake in a 9×13 dish.
- Make It Your Own – Add blueberries, raspberries, or top with toasted coconut.
Storage
Leftovers can be stored in an airtight container in the fridge for up to 3 days. Reheat gently in the microwave or oven. This cobbler is also delicious cold!