This keto chocolate mousse is rich, thick, and irresistibly creamy—yet made with just 3 simple ingredients and no added sugar. It’s the kind of dessert that feels indulgent but fits perfectly into a low-carb or keto lifestyle.
Ready in under 10 minutes, this easy chocolate mousse requires no eggs, no gelatin, no baking, and no cooking at all. There’s no pudding mix, no mascarpone, and no cream cheese—just a smooth, airy mousse that tastes like a classic French dessert.
Even better? Non-keto eaters love it just as much. I’ve shared this recipe with friends following keto, and they all say the same thing: everyone in the house asks for seconds.
Why You’ll Love This Keto Chocolate Mousse
- Naturally low carb & keto-friendly
- Sugar-free, egg-free, and gluten-free
- Ready in minutes with minimal effort
- Super thick, fluffy, and chocolatey
- Easy to make dairy-free or vegan
This mousse is proof that simple ingredients can create something truly decadent.
Ingredients You’ll Need
- Heavy Cream or Full-Fat Coconut Milk
Heavy cream creates a classic mousse texture, while coconut milk or coconut cream makes it completely dairy-free and vegan. - Unsweetened Cocoa Powder
Regular cocoa works well, but Dutch-processed cocoa gives a deeper, richer chocolate flavor. - Sweetener of Choice
Monk fruit sweetener is ideal for keto, but any powdered or granulated sweetener will work.
Optional Add-Ins
- Vanilla extract for warmth
- Instant coffee to intensify the chocolate flavor
How to Make Keto Chocolate Mousse
Step 1: Chill Everything
Place the cream (or coconut milk) and a large mixing bowl in the refrigerator until well chilled. This helps the mousse whip properly.
Step 2: Whip the Base
Using hand beaters or a stand mixer, whip the chilled cream until stiff peaks form.
If using coconut milk, scoop out only the thick cream from the top of the can and discard the liquid.
Step 3: Add Chocolate & Sweetener
Add the cocoa powder, sweetener, and any optional ingredients. Continue whipping until the mixture becomes thick, smooth, and mousse-like.
Step 4: Serve or Chill
Enjoy immediately, or refrigerate for a firmer texture.
Storage Tips
- Store leftovers covered in the refrigerator
- Keeps well for 2–3 days
- Best enjoyed chilled
Customization Ideas
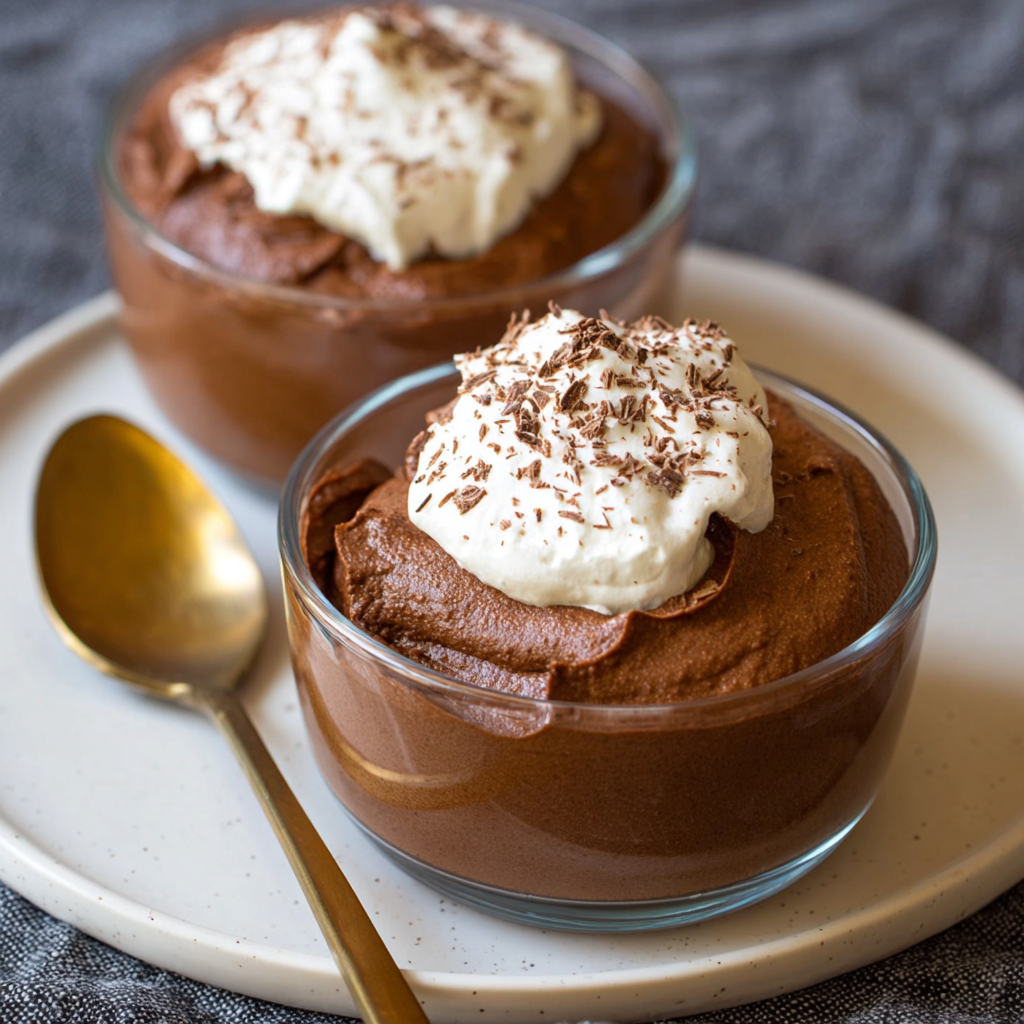
- Top with keto whipped cream or coconut whipped cream
- Serve with fresh berries
- Sprinkle with shaved dark chocolate
- Pair with keto cookies or almond flour brownies
Make It Vegan or Dairy-Free
This recipe is naturally egg-free and can easily be made vegan by using:
- Full-fat coconut milk
- Coconut cream
The result is just as rich, creamy, and satisfying.
Why This Recipe Works
Whipping chilled fat creates volume and structure, while cocoa powder and sweetener blend seamlessly into the airy base—resulting in a mousse that’s fluffy, stable, and intensely chocolatey without sugar.