There’s something magical about a scoop of rich, homemade chocolate ice cream. The smooth texture, deep chocolate flavor, and melt-in-your-mouth creaminess make it one of the most satisfying desserts you can enjoy. The best part? You don’t need an ice cream maker, fancy equipment, or complicated ingredients.
This Homemade Chocolate Ice Cream is made with just three simple ingredients and comes together in only 10 minutes of prep time. It’s rich, velvety, intensely chocolatey, and tastes even better than many store-bought brands. Whether you’re serving it on a hot summer day, using it to create decadent sundaes, or sneaking spoonfuls straight from the freezer, this easy no-churn recipe is guaranteed to become a favorite.
Why You’ll Love This Recipe
Only 3 Ingredients
No complicated ingredient list here. Just heavy cream, sweetened condensed milk, and cocoa powder create the perfect ice cream base.
No Ice Cream Machine Needed
Forget expensive equipment. This no-churn method creates a creamy texture without any special gadgets.
Rich Chocolate Flavor
Dutch-process cocoa powder delivers an intense chocolate taste that chocolate lovers will absolutely adore.
Incredibly Creamy Texture
Thanks to the combination of whipped cream and sweetened condensed milk, every bite is smooth, rich, and luxurious.
Beginner-Friendly
If you’ve never made homemade ice cream before, this recipe is the perfect place to start.
Ingredients You’ll Need
Heavy Whipping Cream
Full-fat heavy cream is essential for achieving the creamy texture that makes this recipe so irresistible.
Sweetened Condensed Milk
This ingredient provides sweetness while helping prevent ice crystals from forming, keeping the ice cream silky smooth.
Dutch Cocoa Powder
Dutch-process cocoa powder gives the ice cream a richer and deeper chocolate flavor, though regular cocoa powder works well too.
Optional Mix-Ins
- Chocolate chips
- Chocolate chunks
- Brownie pieces
- Crushed cookies
- Chopped nuts
- Caramel swirls
How to Make Homemade Chocolate Ice Cream
Step 1: Whip the Cream
Pour the cold heavy whipping cream into a large mixing bowl.
Using an electric mixer, beat until stiff peaks form, about 5 to 8 minutes.
The cream should hold its shape when the beaters are lifted.
Step 2: Add Condensed Milk
Pour the sweetened condensed milk into the whipped cream.
Mix on low speed until fully incorporated.
Step 3: Add Cocoa Powder
Sift the cocoa powder over the mixture to prevent lumps.
Gently fold it in using a spatula until evenly combined.
Mix briefly with the electric mixer if needed to create a completely smooth mixture.
Step 4: Freeze
Transfer the mixture into a freezer-safe container or metal loaf pan.
Smooth the top with a spatula.
Sprinkle with chocolate chips if desired.
Cover tightly with plastic wrap or a lid.
Freeze for at least 4 to 6 hours or overnight.
Step 5: Serve
Remove from the freezer and let sit at room temperature for 5 to 10 minutes before scooping.
Serve and enjoy!
Expert Tips for Perfect Ice Cream
Use Cold Ingredients
Cold cream whips faster and creates a lighter, fluffier texture.
Sift the Cocoa Powder
Cocoa powder often contains small lumps that can affect the texture of your ice cream.
Don’t Use Low-Fat Substitutes
The high-fat content of heavy cream is what creates the luxurious texture. Lower-fat alternatives won’t produce the same results.
Freeze Overnight
Although the ice cream can be ready after 4 hours, an overnight freeze creates the best texture.
Use a Metal Loaf Pan
Metal conducts cold more efficiently than glass or plastic, helping the ice cream freeze evenly.
Delicious Variations
Chocolate Peanut Butter Ice Cream
Swirl peanut butter throughout the mixture before freezing.
Double Chocolate Ice Cream
Add chocolate chunks or mini chocolate chips for extra richness.
Salted Caramel Chocolate Ice Cream
Drizzle caramel sauce between layers before freezing.
Banana Chocolate Ice Cream
Blend ripe bananas into the mixture for natural sweetness and extra creaminess.
Mocha Chocolate Ice Cream
Add 1 teaspoon of instant espresso powder to enhance the chocolate flavor.
Serving Suggestions
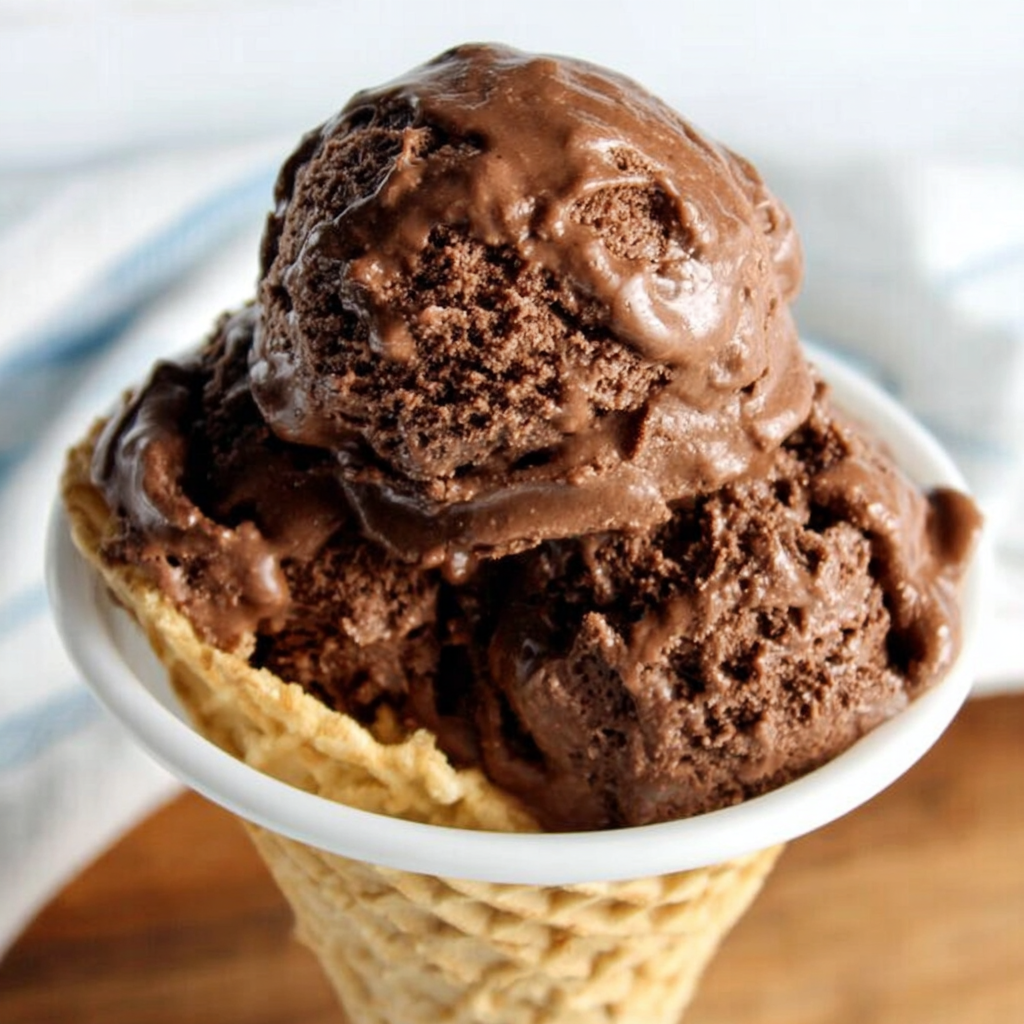
Classic Ice Cream Cones
Serve in sugar cones, waffle cones, or cake cones.
Ultimate Sundae
Top with:
- Whipped cream
- Chocolate sauce
- Chopped nuts
- Maraschino cherries
Ice Cream Sandwiches
Place scoops between cookies or brownies for a fun frozen treat.
Milkshakes
Blend with milk for an ultra-creamy chocolate milkshake.
Affogato
Pour a shot of hot espresso over a scoop of chocolate ice cream for a simple but elegant dessert.
Storage Instructions
Store the ice cream in an airtight freezer-safe container.
Keep frozen for up to 2 months.
For best results, place a layer of plastic wrap directly on the surface before sealing to prevent freezer burn.
Frequently Asked Questions
Do I need an ice cream maker?
No. This is a no-churn recipe designed specifically to be made without an ice cream machine.
Why is my ice cream hard to scoop?
Homemade ice cream freezes very firmly. Let it sit at room temperature for 5 to 10 minutes before serving.
Can I use regular cocoa powder?
Yes. Dutch-process cocoa creates a richer flavor, but regular unsweetened cocoa powder works perfectly well.
Can I add mix-ins?
Absolutely. Chocolate chips, cookie pieces, nuts, caramel, brownie chunks, and candy pieces all work beautifully.
How long does homemade chocolate ice cream last?
When stored properly in an airtight container, it stays fresh for up to 2 months.
Final Thoughts
This Homemade Chocolate Ice Cream proves that incredible desserts don’t have to be complicated. With only three ingredients and no special equipment, you can create a rich, creamy, chocolate-packed frozen treat that rivals your favorite ice cream shop.
Perfect for birthdays, summer gatherings, family movie nights, or simply satisfying a chocolate craving, this easy no-churn recipe is one you’ll want to make again and again.