Making your own bubble gum at home is a fun, hands-on activity that lets you customize flavors and colors exactly how you like. This easy recipe guides you through crafting delicious, chewy bubble gum that everyone—from kids to adults—will love.
Why You’ll Love This Recipe
Bubble gum carries a nostalgic charm that reminds many of childhood. Its sweet, chewy texture and the joy of blowing bubbles make it a timeless treat. While store-bought gum is convenient, nothing beats the satisfaction of creating your own unique flavors and colors right in your kitchen. This recipe is simple, creative, and a perfect project for anyone who enjoys cooking or baking.
Ingredients
- 2 cups white granulated sugar
- ½ cup light corn syrup
- ½ cup water (divided)
- 1 tablespoon unflavored gelatin powder
- ½ teaspoon fine salt
- Food coloring (optional)
- Flavor extracts (optional: cherry, lemon, peppermint, etc.)
- Powdered sugar (for dusting and kneading)
Instructions
1. Prepare the Gelatin
Sprinkle the gelatin over ¼ cup of water in a small bowl. Let it sit for 5 minutes to fully hydrate. This step ensures a perfect chewy texture.
2. Cook the Sugar Base
In a medium saucepan, combine sugar, corn syrup, and the remaining ¼ cup water. Heat over medium, stirring gently until the sugar dissolves and the mixture turns clear.
3. Reach the Right Temperature
Turn up the heat and bring the mixture to a boil. Using a candy thermometer, cook until it reaches 300°F (hard-crack stage)—this sets the ideal gum consistency.
4. Add Flavor and Color
Remove from heat. Quickly stir in the hydrated gelatin, salt, food coloring (if using), and your chosen flavor extract. Mix well for even distribution.
5. Cool and Thicken
Pour the hot mixture onto a heatproof surface or silicone mat. Let it cool for 20-30 minutes until it thickens to a honey-like consistency, perfect for kneading.
Kneading and Shaping
Dust your work surface with powdered sugar. Transfer the sticky gum mixture and knead it thoroughly until smooth, pliable, and no longer sticky. If needed, add more powdered sugar to prevent sticking.
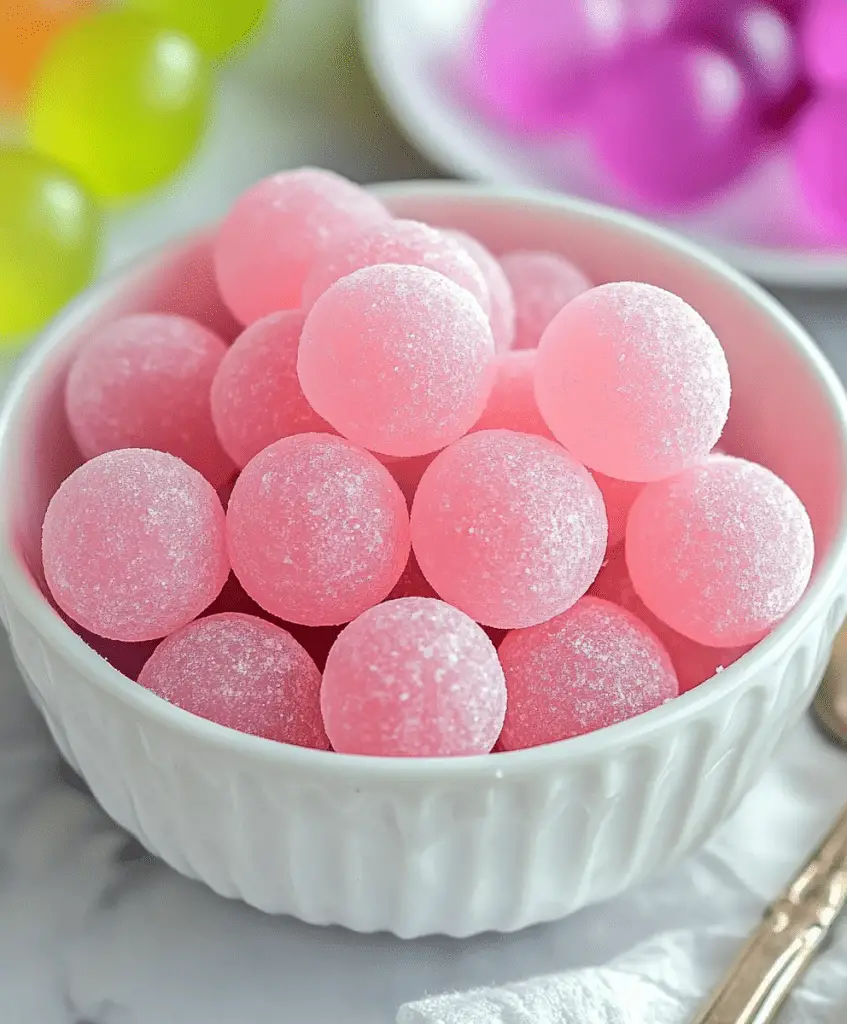
Roll the gum into ropes, flatten into sheets, or form small balls—get creative! Place shaped pieces on wax paper to prevent sticking.
Storage
Wrap individual pieces in wax paper or store all gum in an airtight container to keep fresh and chewy.
Serving Suggestions
Serve homemade bubble gum at parties, family gatherings, or create a colorful gum bar with various flavors and colors for guests to mix and match!
Tips & Tricks
- Flavor Ideas: Try tropical combos like pineapple-coconut or classic mixes like strawberry-vanilla.
- Softening Gum: If gum hardens too much after cooling, warm slightly with your hands before kneading again.
- Vegan Option: Substitute gelatin with agar-agar for a plant-based alternative.
- No Candy Thermometer? Test by dropping a bit of the hot syrup into cold water—if it forms brittle threads, it’s ready.
Nutrition (Approximate per piece)
- Calories: 60
- Protein: 0g
- Sodium: 5mg
FAQs
Can I use different sugars?
Granulated sugar works best, but you can experiment with brown sugar for a unique flavor.
How long does homemade gum last?
Stored properly in an airtight container, it lasts 1–2 weeks, best enjoyed fresh.
Can I make this vegan?
Yes! Use agar-agar instead of gelatin.
How should I store leftovers?
Wrap pieces individually in wax paper and keep in an airtight container to prevent sticking.
Making homemade bubble gum is a delightful and nostalgic kitchen project that lets you customize flavors while sharing fun moments with family and friends. With just a few simple ingredients, you can bring childhood magic back to life—and blow some epic bubbles too!