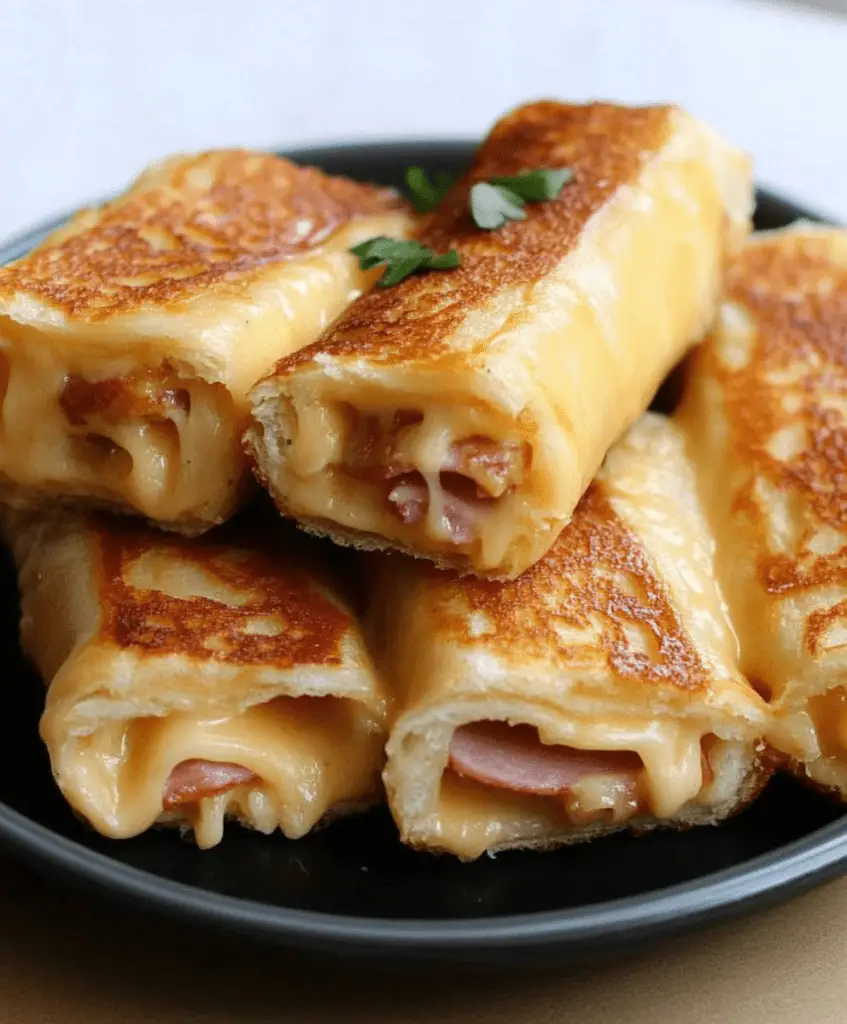
When you think of roll-ups, breakfast probably comes to mind—especially French toast roll-ups. But it’s time to shake things up with a savory twist! These grilled cheese roll-ups are fun, simple, and totally crave-worthy. They’re the ultimate finger food—perfect for game days, board game nights, casual get-togethers, or just something fun to make with the kids.
Pair them with homemade tomato soup for dipping, or enjoy them as-is. Either way, this recipe is so easy that if I can make it, you can too!
🧀 Ingredients You’ll Need:
- Bread – White sandwich bread works best, but any soft sliced bread will do. Country-style white is my favorite.
- Cheese – Use a finely shredded mix of cheddar, Colby, and Monterey Jack, or go classic with American cheese for easy melting.
- Ham (Optional) – Thinly sliced deli ham is perfect if you want to add a little extra flavor and protein.
- Butter – For toasting the roll-ups to golden perfection.
🔧 Tools:
- Skillet or griddle
- Tongs
- Rolling pin
- Knife & cutting board
- Toothpicks (optional)
- Basting brush (optional)
🥪 How to Make Grilled Cheese Roll-Ups
Step 1: Prep the Bread
Start by trimming the crusts off each slice of bread. Save them to make homemade croutons, breadcrumbs, or toast sticks later.
Use a rolling pin to flatten each slice of bread. Fluffy, soft bread works best—it rolls up more easily than denser varieties.
Step 2: Add the Fillings
Sprinkle a layer of shredded cheese over each flattened slice. Add a slice of thin ham if desired.
Then, roll each slice tightly—lengthwise works best to help them hold together. If needed, secure with toothpicks.
Tip: American cheese melts super smoothly, but feel free to use any cheese you love—as long as it melts easily.
Step 3: Toast ‘Em Up
Heat a skillet or griddle over medium-low to medium heat (about 325°F / 162°C). Melt butter in the pan, then add the roll-ups seam-side down.
Cook for 5–8 minutes, turning occasionally with tongs so they brown evenly on all sides. If you’re using toothpicks, you can usually remove them halfway through once the cheese melts and holds the roll together.
Want extra buttery flavor? Brush the tops with more melted butter while cooking.
🍅 Serving Ideas
Once golden and crispy, serve the grilled cheese roll-ups whole or slice them in half for appetizer-sized bites.
Dipping idea: Serve with homemade or store-bought tomato soup for the ultimate comfort food combo.
Extra idea: Toast those leftover crusts right in the pan for crunchy little breadstick snacks!
🧊 Storage Tips
These roll-ups are best served fresh, but leftovers can be stored in an airtight container or zip-top bag in the fridge for up to 3 days. Reheat in the microwave or oven until warm.
📌 Pin It for Later!
Grilled cheese roll-ups are a fun spin on a classic comfort food. Whether you’re making them for a party, a snack board, or a quick lunch, they’re sure to disappear fast. Don’t forget to save this recipe to Pinterest!
📋 Printable Recipe
Grilled Cheese Roll-Ups
Prep Time: 10 min | Cook Time: 8 min | Total Time: 18 min
Servings: 3 | Calories: ~321 (with ham)
Ingredients:
- 6 slices white sandwich bread
- 1 cup thinly shredded cheese
- 6 slices deli ham (optional)
- 2 tbsp butter
Instructions:
- Trim crusts off the bread and roll each slice flat.
- Add shredded cheese and ham (if using).
- Roll up tightly. Use toothpicks if needed.
- Heat butter in a skillet over medium-low. Add roll-ups.
- Cook 5–8 minutes, turning occasionally until golden.
- Remove from pan, slice if desired, and serve warm.