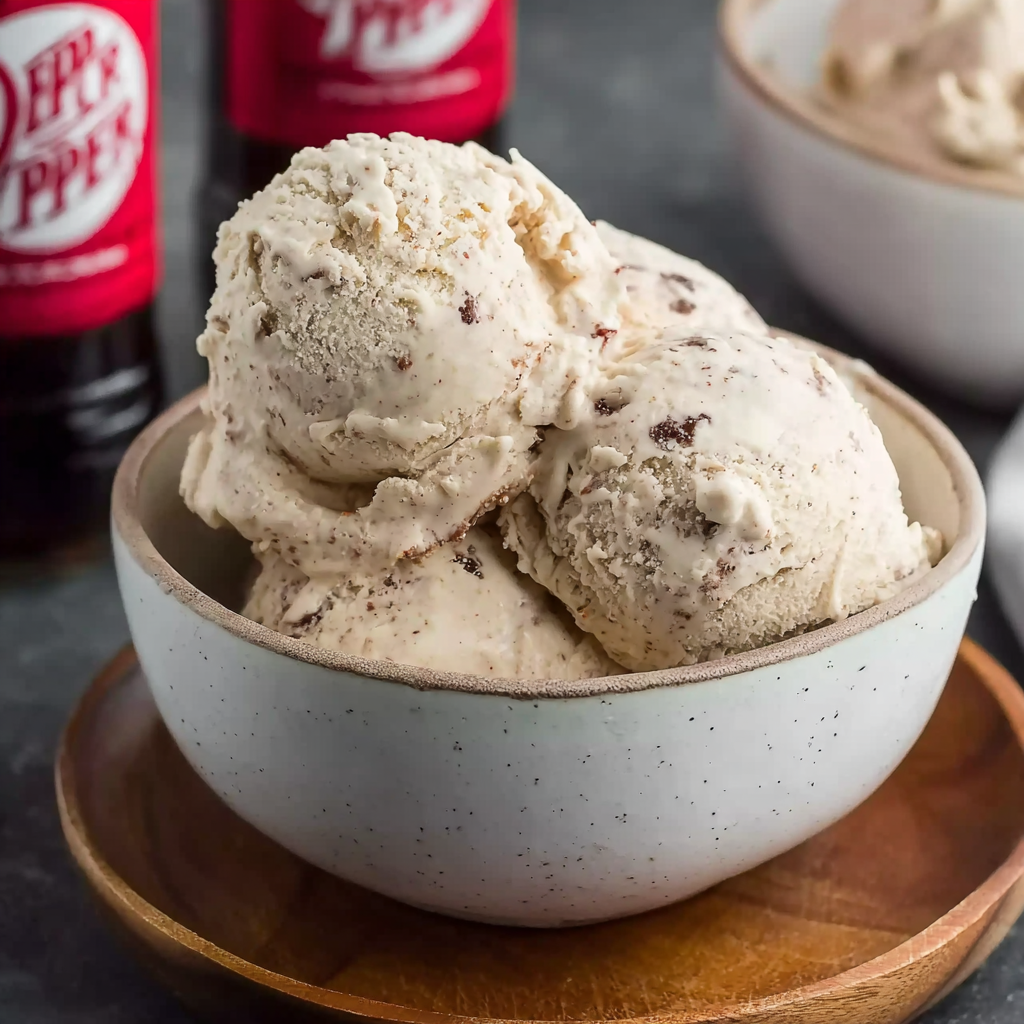
If you’ve never tried soda ice cream before, this homemade Dr Pepper ice cream is about to surprise you in the best possible way. With only three simple ingredients and no ice cream machine required, this frozen dessert transforms the iconic cherry-cola flavor of Dr Pepper into a rich, creamy, scoopable treat that tastes nostalgic, refreshing, and completely irresistible.
The combination of sweetened condensed milk, fluffy whipped cream, and fizzy Dr Pepper creates a smooth no-churn ice cream with a light texture and bold soda-shop flavor. It’s one of those recipes that sounds unusual at first — until you take the first bite and instantly understand the obsession.
Perfect for summer parties, movie nights, backyard cookouts, or late-night sweet cravings, this easy dessert is guaranteed to become a family favorite.
Why You’ll Love This Dr Pepper Ice Cream
- Only 3 ingredients
- No ice cream maker needed
- Rich and creamy texture
- Fun soda-inspired flavor
- Easy enough for beginners
- Perfect make-ahead dessert
- Great for parties and summer gatherings
The secret to the dreamy texture is gently folding freshly whipped cream into the Dr Pepper mixture. This keeps the ice cream light, airy, and incredibly scoopable once frozen.
Dr Pepper Ice Cream Ingredients
Dr Pepper Ice Cream
Here’s everything you’ll need to make this creamy soda ice cream:
- 1 can (12 ounces) cold Dr Pepper
- 1 container (14 ounces) sweetened condensed milk
- 2 cups cold heavy cream
That’s it!
Ingredient Tips & Variations
Add Mix-Ins
Want extra texture and flavor? Try adding:
- Mini chocolate chips
- Crushed Oreos
- Chopped pecans
- Toffee bits
- Crushed pretzels
Fold them in right before freezing.
Add Flavor Extracts
A small splash of vanilla or almond extract adds even more depth to the soda flavor.
Make It Lower Sugar
Use sugar-free Dr Pepper and sugar-free sweetened condensed milk for a lighter version.
Turn It Into a Float-Inspired Dessert
Swirl in chocolate syrup or caramel sauce before freezing for an old-fashioned soda fountain vibe.
How to Make Dr Pepper Ice Cream
This no-churn recipe comes together with minimal effort and delivers incredibly creamy results every time.
Step 1: Chill Your Equipment
Place a loaf pan, mixing bowl, and whisk attachments in the freezer for 30 minutes before starting.
Cold tools help the cream whip faster and create a lighter texture.
Step 2: Mix the Dr Pepper Base
In a medium bowl, slowly pour the cold Dr Pepper into the sweetened condensed milk.
Stir gently to reduce bubbles and foam.
Pro Tip
Using cold soda helps the ice cream freeze faster and improves the final texture.
Step 3: Whip the Cream
Pour the cold heavy cream into the chilled mixing bowl.
Beat on medium-high speed for about 1 minute until frothy, then increase to high speed and continue whipping until stiff peaks form.
This usually takes another 1½ to 2 minutes.
The whipped cream creates the soft, creamy consistency that makes no-churn ice cream so delicious.
Step 4: Fold Everything Together
Using a silicone spatula, gently fold the whipped cream into the Dr Pepper mixture one cup at a time.
Do not stir aggressively — folding keeps the mixture airy and fluffy.
Step 5: Transfer to Pan
Spoon the ice cream mixture into the chilled loaf pan.
Smooth the top using a spatula or the back of a spoon.
Step 6: Freeze
Cover tightly with heavy-duty foil and freeze for at least 6 hours, or until firm.
You can begin checking around the 4-hour mark since freezer temperatures vary.
Step 7: Scoop & Serve
Once frozen, let the ice cream sit at room temperature for a few minutes before scooping.
Serve in bowls, waffle cones, or alongside your favorite desserts.
Serving Ideas
This creamy Dr Pepper dessert pairs perfectly with all kinds of sweet treats.
Classic Ice Cream Bowl
Top with:
- Whipped cream
- Chocolate syrup
- Maraschino cherries
Dr Pepper Float
Add a scoop to a tall glass and pour cold Dr Pepper over the top.
Brownie Sundae
Serve with warm brownies for the ultimate chocolate-and-cola dessert combo.
Ice Cream Sandwiches
Sandwich scoops between:
- Chocolate chip cookies
- Sugar cookies
- Brownies
Milkshake
Blend with a splash of milk for a thick Dr Pepper milkshake.
How to Store Dr Pepper Ice Cream
In the Freezer
Store tightly covered for up to 1 month.
For best texture:
- Press parchment paper directly onto the surface
- Cover tightly with foil or an airtight lid
This helps prevent freezer crystals.
Tips for the Best No-Churn Ice Cream
- Always use cold ingredients
- Chill your bowl and beaters first
- Fold gently to keep air in the mixture
- Freeze in a shallow pan for quicker setting
- Let it soften slightly before scooping
Frequently Asked Questions
Can I use Diet Dr Pepper?
Yes! The texture may be slightly different, but it still works well.
Do I need an ice cream maker?
Nope! This is a completely no-churn recipe.
Why is my ice cream icy?
This usually happens if the whipped cream was overmixed or folded too aggressively.
Can I double the recipe?
Absolutely — just use a larger freezer-safe container.
How long does it last?
It stays fresh in the freezer for about 1 month.
Can I add toppings before freezing?
Yes! Swirl in syrups or fold in candy pieces before freezing.
Why This Recipe Works
Sweetened condensed milk acts as both the sweetener and texture builder, helping create silky ice cream without eggs or cooking.
Whipped heavy cream adds volume and richness, while the Dr Pepper provides that unmistakable caramel-cherry soda flavor that makes this dessert truly unique.
The result is creamy, fluffy, nostalgic, and incredibly easy to make.
More Delicious Desserts You’ll Love
- Birthday Cake Ice Cream
- Dr Pepper Brownies
- Dirty Dr Pepper
- Ice Cream Sandwiches
Dr Pepper Ice Cream Recipe Card
Ingredients
- 12 ounces cold Dr Pepper
- 14 ounces sweetened condensed milk
- 2 cups cold heavy cream
Instructions
- Freeze loaf pan, bowl, and beaters for 30 minutes.
- Slowly mix Dr Pepper into sweetened condensed milk.
- Whip heavy cream to stiff peaks.
- Fold whipped cream gently into soda mixture.
- Transfer to loaf pan and smooth top.
- Cover and freeze for 6 hours or until firm.
- Scoop and serve.