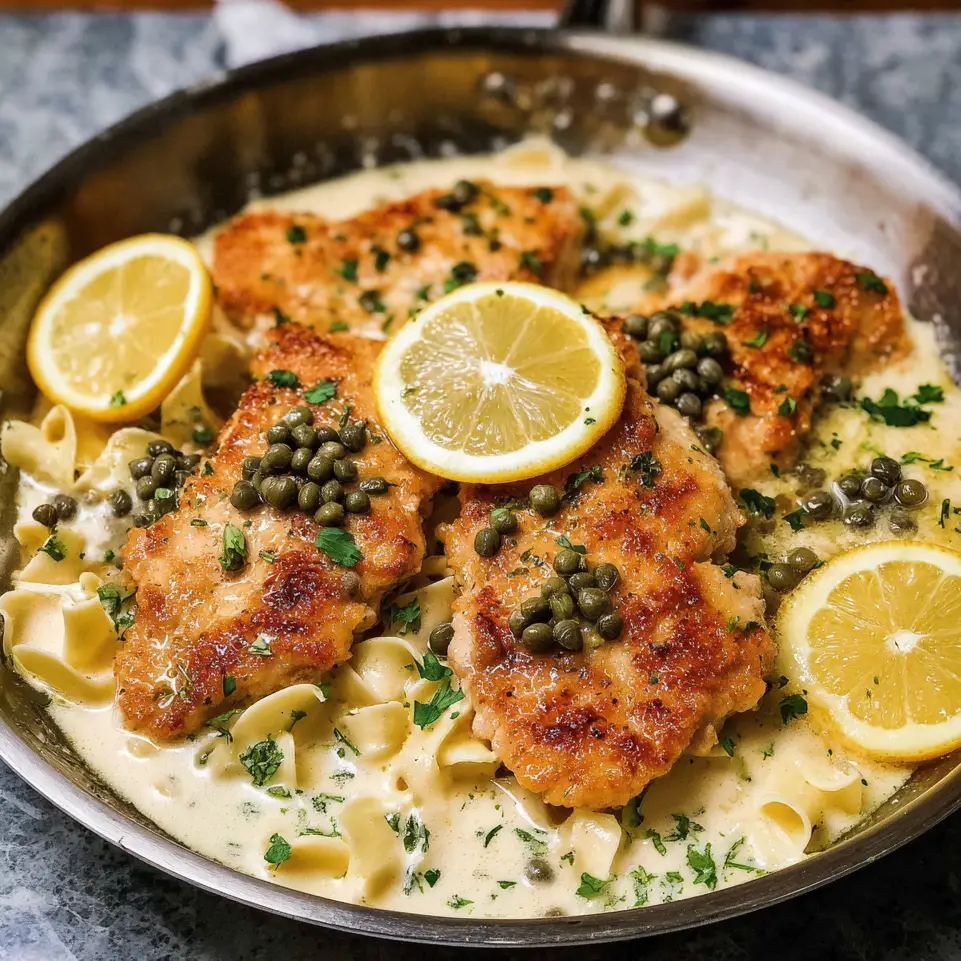
This Chicken Piccata recipe is everything you want in a restaurant-worthy dish—crispy golden chicken, juicy inside, and coated in a rich, creamy lemon sauce. The best part? It all comes together in just 30 minutes, making it perfect for both weeknight dinners and elegant entertaining.
Why You’ll Love This Chicken Piccata
- Crispy & Juicy – Lightly breaded chicken cooked until golden brown on the outside while staying tender inside.
- Creamy Lemon Sauce – A silky sauce made with fresh lemon juice, broth, cream, and briny capers that adds the perfect balance of tang and richness.
- Restaurant-Quality at Home – Skip the takeout or Italian restaurant—this dish tastes just as impressive made right in your kitchen.
- Versatile – Serve it over angel hair pasta, creamy mashed potatoes, or alongside roasted veggies.
Ingredients You’ll Need
- Chicken breasts – sliced thin for quick cooking.
- Flour, egg, breadcrumbs – for a light, crispy coating.
- Olive oil & butter – for frying and richness.
- Chicken broth & heavy cream – the base of the sauce.
- Fresh lemons – for that signature bright flavor.
- Capers – salty little bursts that complete the classic piccata taste.
How to Make Chicken Piccata
1. Prep the Chicken
Butterfly the chicken breasts (slice in half horizontally) so you have 4 thin fillets. Season with salt and pepper. Dredge each piece in flour, dip into beaten egg, and coat with breadcrumbs.
2. Cook the Chicken
Heat olive oil and butter in a skillet over medium-high heat. Cook the chicken for about 3 minutes per side until golden brown and fully cooked. Remove from the pan and set aside.
3. Make the Sauce
In the same pan, add chicken broth, lemon juice, cream, and capers. Let it bubble for 3–5 minutes until slightly thickened. Taste and season with salt and pepper if needed.
4. Combine and Serve
Return the chicken to the skillet, spooning the sauce over the top. Serve immediately over pasta, rice, or mashed potatoes with a side of roasted vegetables or garlic bread.
What to Serve With Chicken Piccata
- Angel hair pasta or mashed potatoes
- Roasted vegetables (broccoli, carrots, or asparagus)
- Fresh side salad or garlic knots
- A crisp glass of white wine 🍷
Storage & Reheating
- Refrigerator: Store leftovers in an airtight container for up to 3 days.
- Freezer: Freeze cooked chicken and sauce separately for up to 2 months.
- Reheat: Warm gently in a skillet over low heat with a splash of broth or cream to loosen the sauce.
⭐ Quick Tip: For extra flavor, zest one lemon into the sauce before serving!
This easy Chicken Piccata is the ultimate balance of crispy chicken, tangy lemon, and creamy richness. It’s quick enough for weeknights yet elegant enough for date night or guests.