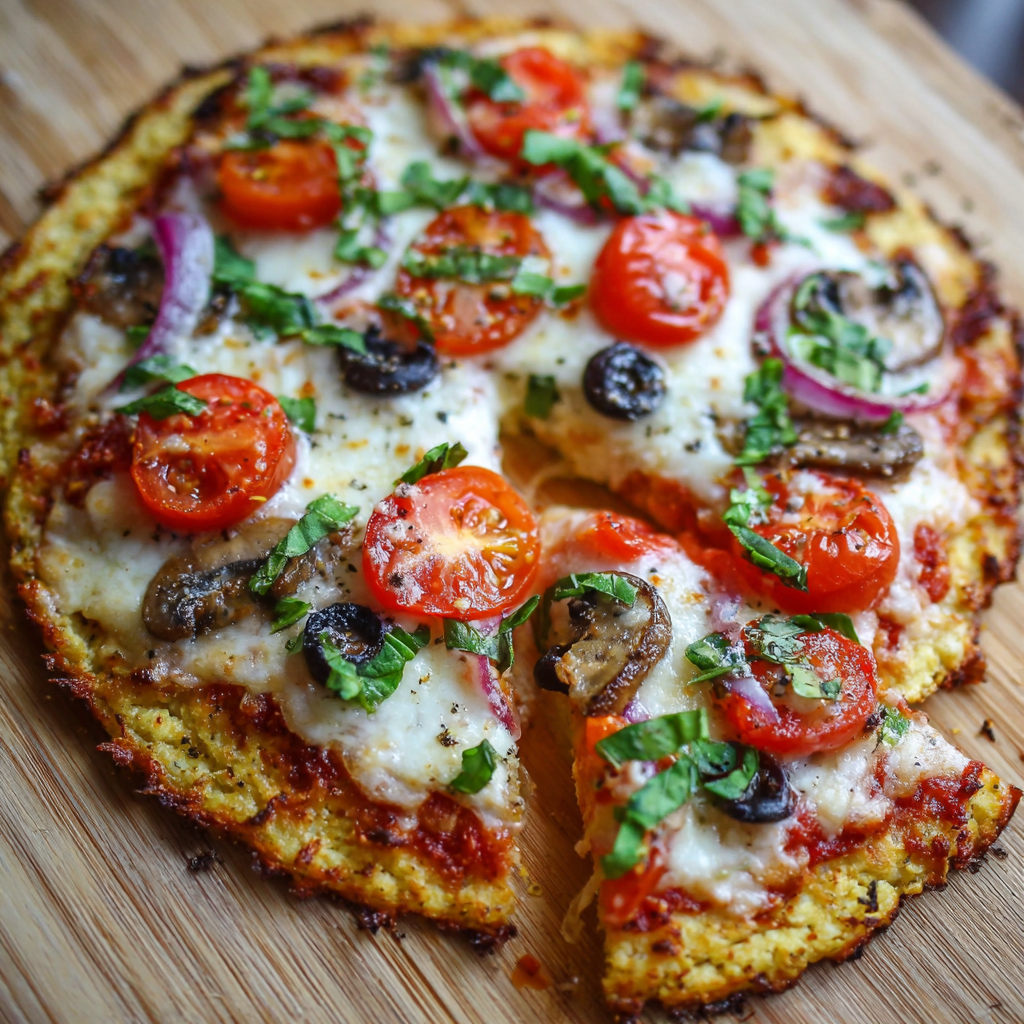
Looking for a lighter alternative to traditional pizza? This Cauliflower Pizza Crust is a game-changer 🍕✨! It’s completely gluten-free, packed with flavor, and sturdy enough to pick up like a real pizza slice. Whether you top it with your favorites or go for a fresh Greek-style combo, this crust is both healthy and satisfying.
🌿 Why You’ll Love This Recipe
- Gluten-free & low-carb
- Crispy edges with a tender center
- Can be held like regular pizza
- Simple ingredients & easy steps
- Great way to enjoy veggies in a fun way
🛒 Ingredients
- 1 small head (or ⅔ large head) cauliflower
- ¼ cup Parmesan cheese
- ¼ cup Monterey Jack cheese
- ¼ tsp sea salt
- ½ tsp dried basil
- ½ tsp dried oregano
- ½ tsp garlic powder
- 1 egg
👩🍳 Instructions
1. Prepare the Cauliflower
Wash and dry thoroughly. Cut into florets and pulse in a food processor until it resembles fine “snow” (about 2–3 cups).
2. Cook the Cauliflower
Microwave for 4–5 minutes, then let cool.
3. Remove Moisture
Place cauliflower in a clean towel and squeeze out as much water as possible (this step is key!).
4. Make the Dough
In a bowl, mix cauliflower with cheeses, salt, and spices. Add egg and mix until a dough forms.
5. Shape the Crust
Preheat oven to 450°F (230°C).
Press dough onto parchment paper into a pizza shape (about ¼ inch thick).
6. Pre-Bake
Bake crust for 8–11 minutes until golden.
7. Add Toppings
Top as desired and bake another 5–7 minutes until melted and bubbly.
🍕 Topping Idea (Greek Style!)
Try this delicious combo:
- Olive oil
- Feta cheese
- Mozzarella
- Kalamata olives
- Red onion
- Cherry tomatoes
- Fresh parsley
💡 Tips for Best Results
- Squeeze out ALL moisture for a firm crust
- Don’t skip pre-baking—it helps hold shape
- Press edges firmly if cracks appear
- Use parchment paper to prevent sticking
🍽️ What to Expect
- Slightly denser than regular crust
- Crispy outside, soft inside
- Full of flavor from herbs and cheese
🧊 Storage
- Fridge: up to 3 days
- Reheat in oven for best texture