If you’re ready for a dessert that delivers big flavor with zero oven time, this Butterfinger Pie with Peanut Butter is about to become your new favorite sweet treat.
The iconic Butterfinger candy bar has been around since 1923, but this modern twist transforms it into a creamy, crunchy, no-bake pie that feels indulgent, nostalgic, and downright addictive. One bite in, and you’ll understand why this dessert disappears fast at parties, holidays, and family gatherings.
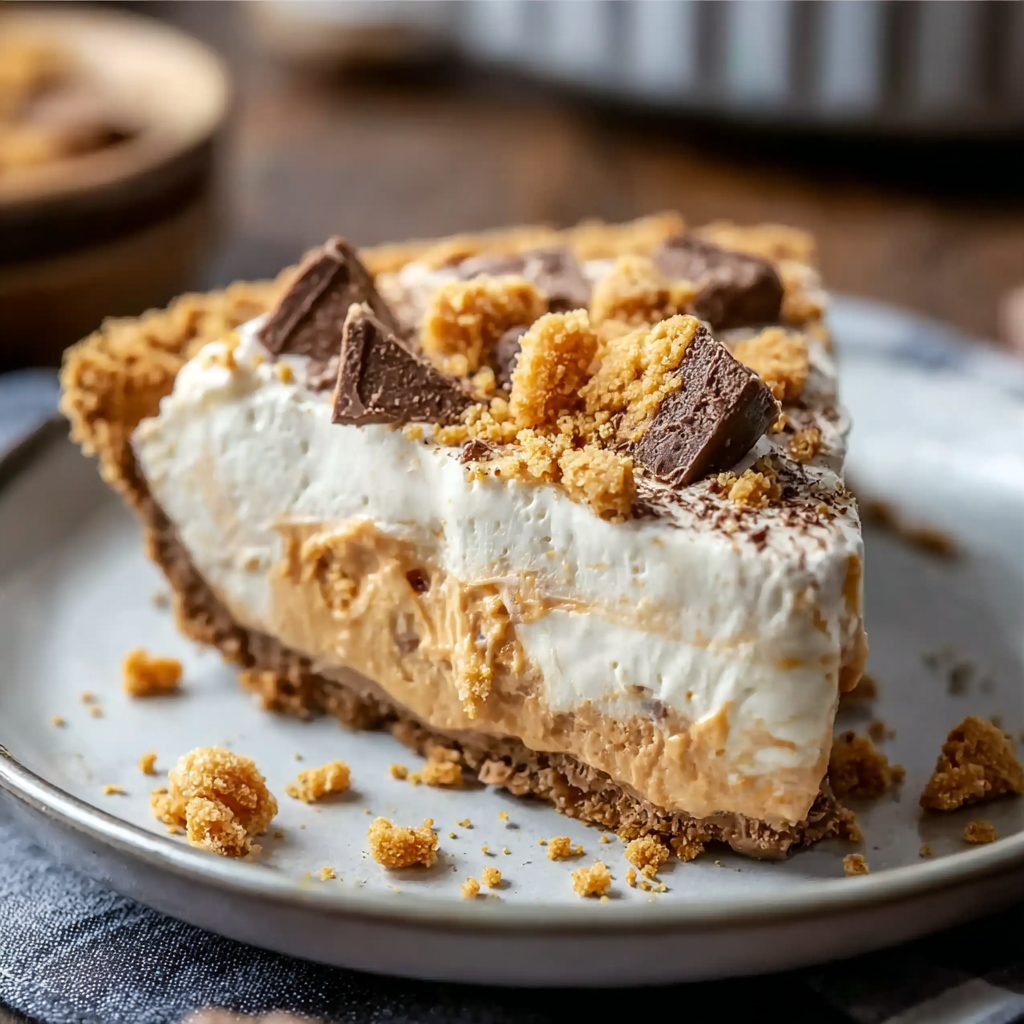
Rich peanut butter filling, crunchy Butterfinger pieces, and a buttery graham cracker crust—this pie checks all the dessert boxes.
Why You’ll Love This Butterfinger Peanut Butter Pie
This isn’t just another no-bake dessert—it’s a guaranteed crowd-pleaser. Here’s what makes it special:
- Creamy + crunchy texture from peanut butter filling and crushed Butterfinger bars
- Perfect sweet-and-salty balance that keeps you coming back for more
- No-bake recipe, so it’s easy and stress-free
- Make-ahead friendly, ideal for parties and holidays
- Loved by kids and adults alike
If you’re looking for a dessert that feels impressive without being complicated, this is it.
Ingredients You’ll Need
You only need a handful of simple ingredients to bring this pie together:
- Graham cracker crumbs (or crushed Oreos for a chocolate crust)
- Unsalted butter, melted
- Creamy peanut butter
- Cream cheese, softened
- Powdered sugar
- Vanilla extract
- Whipped topping (such as Cool Whip), thawed
- Butterfinger candy bars, crushed
Pro Tip: Use a good-quality creamy peanut butter for the smoothest, richest filling.
How to Make Butterfinger Pie with Peanut Butter
1. Make the Crust
Combine graham cracker crumbs and melted butter until evenly mixed. Press firmly into the bottom and sides of a 9-inch pie dish. Refrigerate while you prepare the filling.
2. Prepare the Filling
In a large bowl, beat the peanut butter and softened cream cheese until smooth and creamy. Add powdered sugar and vanilla extract, mixing until fully combined.
3. Fold in the Whipped Topping
Gently fold the whipped topping into the peanut butter mixture until light and fluffy. Avoid overmixing to keep the filling airy.
4. Add Butterfinger Pieces
Crush three Butterfinger bars and fold them into the filling, reserving one bar for the topping.
5. Assemble and Chill
Spread the filling evenly into the prepared crust. Sprinkle the remaining crushed Butterfinger over the top. Refrigerate for at least 4 hours, or overnight, until fully set.
Tips for the Best Butterfinger Pie
- Make sure the cream cheese is fully softened for a smooth, lump-free filling
- Crush Butterfingers in a zip-top bag using a rolling pin for easy cleanup
- For neat slices, dip your knife in hot water and wipe between cuts
- This pie can be made up to 2 days ahead, making it perfect for entertaining
Fun Variations to Try
Want to switch things up? Try one of these ideas:
- Drizzle chocolate ganache over the top for extra decadence
- Swap Butterfingers for Reese’s Cups or Heath bars
- Add a thin layer of vanilla or chocolate pudding before the filling
- Make mini pies in muffin tins for individual servings
What to Serve with Butterfinger Pie
This pie is rich and satisfying on its own, but it pairs beautifully with:
- A cold glass of milk
- Fresh berries to balance the sweetness
- Vanilla ice cream for an extra-indulgent dessert
- Coffee or a creamy coffee liqueur for adult gatherings
Final Thoughts
This Butterfinger Pie with Peanut Butter is proof that no-bake desserts can still be bold, indulgent, and unforgettable. With its creamy peanut butter filling and crunchy candy bar pieces, it’s the kind of dessert people ask for again and again.